Best Product Tours Software for Webflow
Join 2,200+ companies using Produktly to create exceptional product tours that simplify learning curves and increase feature adoption on Webflow.


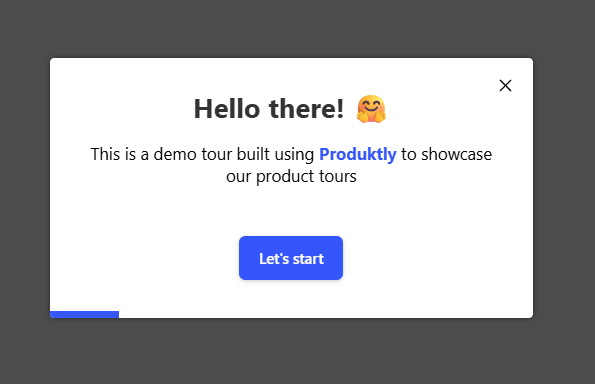
Why Produktly Product Tours is Perfect for Webflow
Add interactive guidance to your Webflow sites without writing code. Perfect for complex SaaS platforms built on Webflow.
Supercharge Your Webflow Experience
Create engaging product tours that drive adoption and retention. Guide your users through even the trickiest parts of your product.
Interactive Tours
- Highlight functionality and advance tours based on click or hover events.
No-Code Editor
- Build all your tours without writing a single line of code.
Detailed Analytics
- Understand how your tours are performing with deep insights.

Simple Integration with Webflow
Getting started with Produktly product tours on your Webflow project is quick and easy.
How to integrate:
- 1
Copy your Produktly script snippet.
- 2
In Webflow, go to Project Settings > Custom Code.
- 3
Paste the snippet into the "Head Code" section.
- 4
Open your published site and use the Produktly editor to build your tour.


Webflow and in-app guidance
Webflow is a visual builder that outputs static HTML, CSS, and a small client runtime for interactions. The visual designer gives every element a class, but Webflow also auto-generates classes if you don’t name them yourself. For anything you want to target reliably, give the element a custom class or a custom attribute through the Webflow settings panel.
Webflow sites are typically multi-page with full reloads between pages, so tours don’t need SPA mode unless you’ve added a custom client-side router on top.
Installing Produktly on Webflow
Paste the snippet into Project Settings > Custom Code > Head Code. Webflow injects it into every page automatically.
<!-- Webflow > Project Settings > Custom Code > Head Code -->
<script>
  (function (w, d, f) {
    var a = d.getElementsByTagName("head")[0];
    var s = d.createElement("script");
    s.async = 1; s.src = f;
    s.setAttribute("id", "produktlyScript");
    s.dataset.clientToken = "YOUR_TOKEN";
    a.appendChild(s);
  })(window, document, "https://public.produktly.com/js/main.js");
</script>
After saving, hit Publish. The snippet only goes live on the published domain, not in the Webflow Designer preview.
Things to watch out for on Webflow
Snippets in the Designer don’t fire
Webflow only runs custom code on the published site. To test a tour, publish to a staging subdomain and open that URL, not the Designer preview.
Auto-generated class names change without warning
If you didn’t name a class, Webflow generates one and may rename it on republish. Give every tour target a stable custom class or an attribute like data-tour="hero".
Symbols inherit head code differently
Code added inside a Symbol does not propagate to every page. Always add the Produktly snippet to Project Settings > Custom Code, not inside a Symbol.
Why teams on Webflow pick Produktly
Webflow teams pick Produktly because the snippet sits in one place (Project Settings), and a visual editor on top of a visual builder feels natural. There’s no need to break out of Webflow’s no-code model to add product tours, checklists, or feedback widgets to a Webflow-built app or marketing site.
Other Webflow Guides
Announcements
Announcements software for Webflow.
Checklists
Checklists software for Webflow.
Feedback Widgets
Feedback Widgets software for Webflow.
Smart Tips
Smart Tips software for Webflow.
Tool Tips
Tool Tips software for Webflow.
Roadmaps
Roadmaps software for Webflow.
NPS Widgets
NPS Widgets software for Webflow.
Micro Surveys
Micro Surveys software for Webflow.
Changelogs
Changelogs software for Webflow.
Similar Platforms for Product Tours
Framer
Best product tours software for your Framer app.
Wix
Best product tours software for your Wix app.
Squarespace
Best product tours software for your Squarespace app.
Carrd
Best product tours software for your Carrd app.
Weebly
Best product tours software for your Weebly app.
Duda
Best product tours software for your Duda app.
Jimdo
Best product tours software for your Jimdo app.